Monthly Main Meeting Highlights
The July 2018 Main Meeting
![]() This month the guys from the Microsoft Store in Pitt St dropped by to tell us about some of the new features of the April Windows 10 update. If
you have version 1803 you have the latest update.
This month the guys from the Microsoft Store in Pitt St dropped by to tell us about some of the new features of the April Windows 10 update. If
you have version 1803 you have the latest update.
This time we had a great rundown on all the accessibility features of the April update.
First up we heard about the Microsoft Store. As a resource its hard to go past. The store is the only one outside of the US.
If you have a problem you can drop in for a chat and the Microsoft tech gurus can sort it out. Don’t forget that every Microsoft application has built-in feedback and help menus.
First up we looked at the Windows Settings.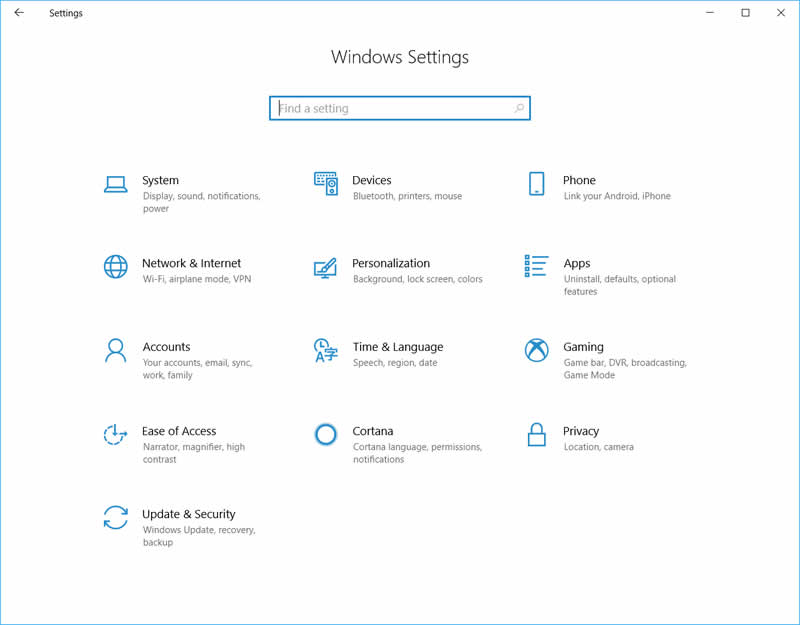
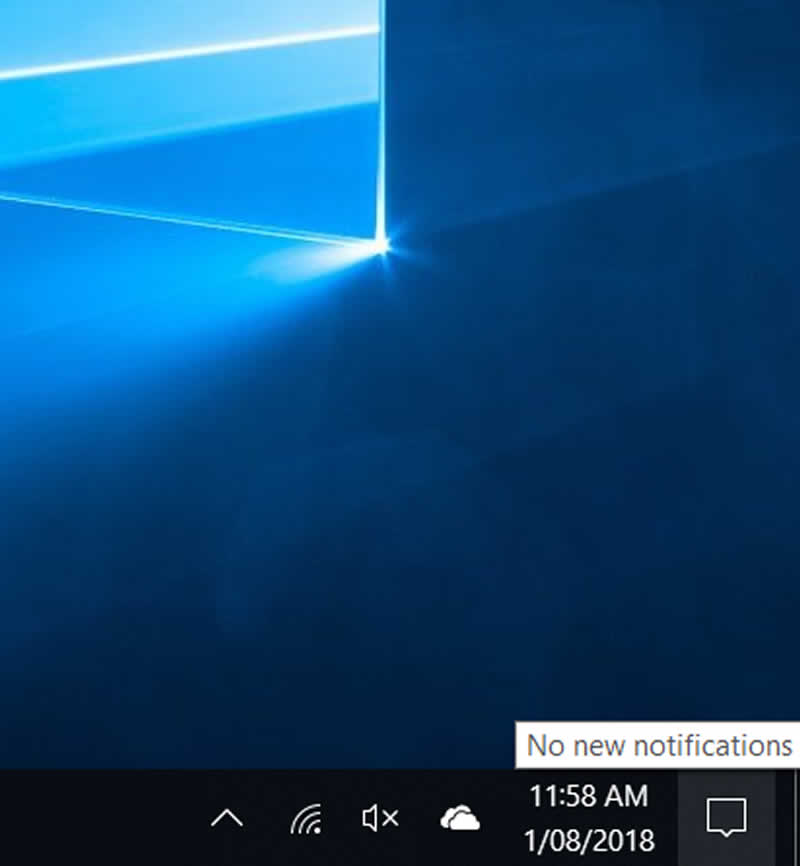
You can find the windows settings two ways. Click on the windows symbol on the left of the screen
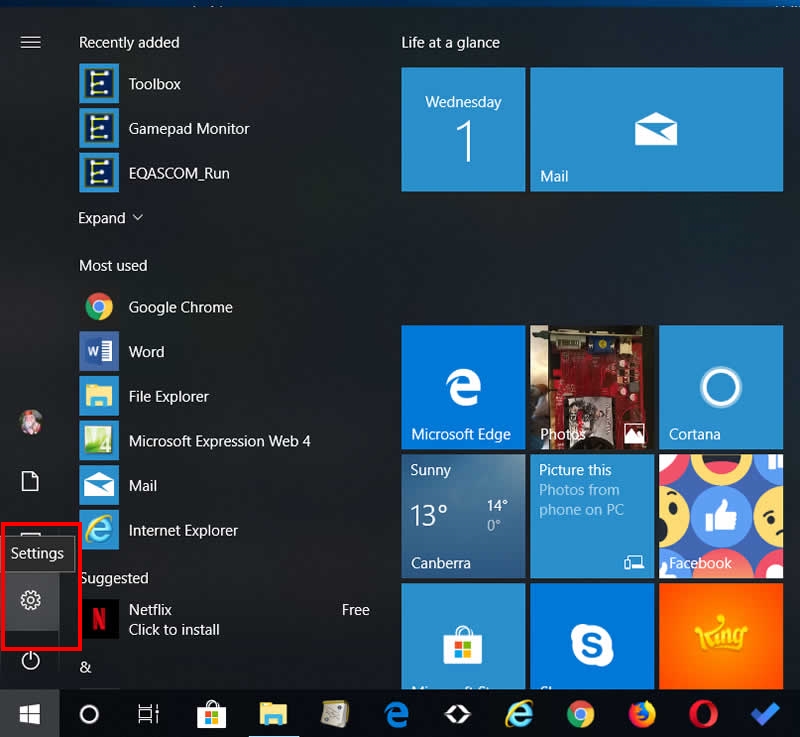
Then click on the gear symbol to go to settings or click on the notifications symbol on the left side of the screen.
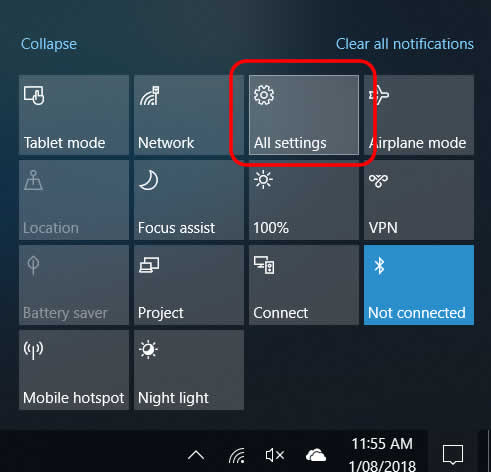
This brings up a list of short cuts. If you then find the “all settings” block and click on it the “Windows settings” panel will open.
This time the guys from Microsoft concentrated on the “Ease of Access”.
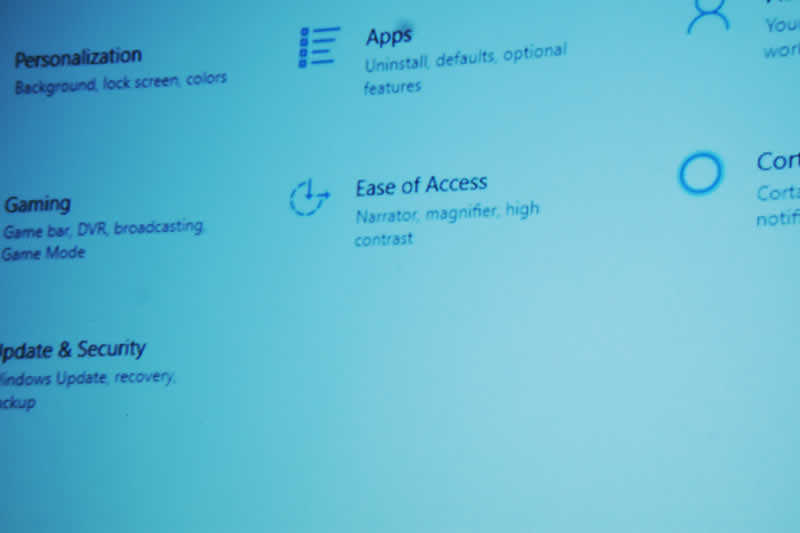
Before we got to Ease of access the highlight feature was one of the first access featured mentioned.
As the screen print shows, as you hover over a button it puts a grey line around the button. Before we moved on the guys also noted a feature we may all take for granted. It’s the way the minimize, enlarge and close buttons are highlighted as you hover over them.

Clicking on ease of access opens up the settings menu starting with “Display”.
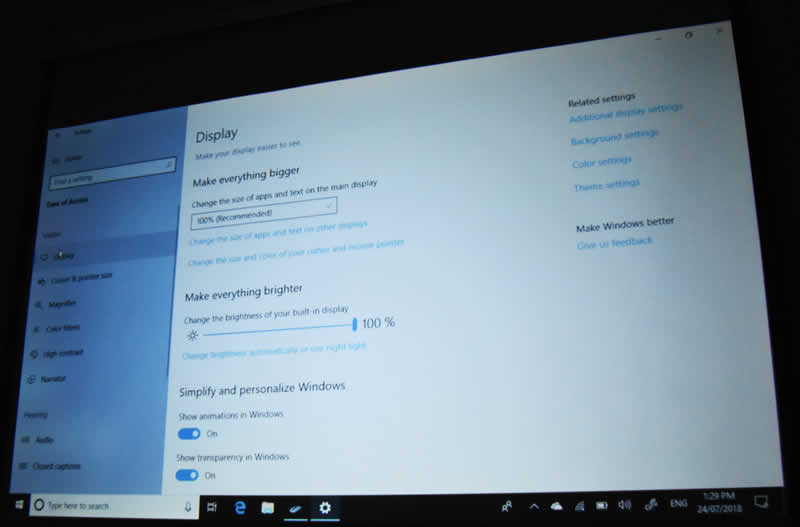
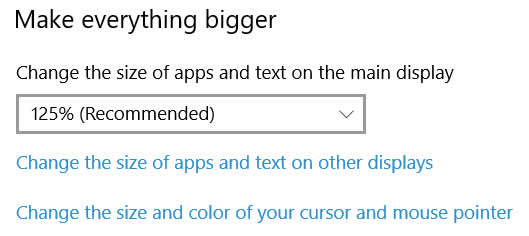
The display was set to 100% and the first change made was to increase the size that we see the font and apps to 125%
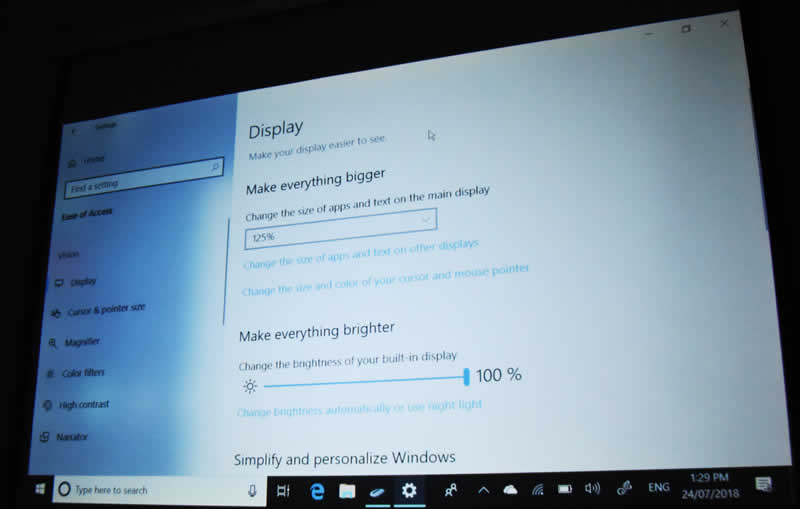
It made an immediate difference to our viewing pleasure.
Under “Make everything brighter”
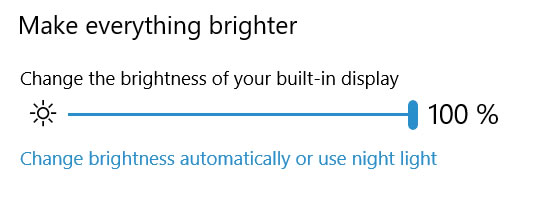
is a feature called “Change brightness automatically or use night light”. This appeared in the Creators update. Night light is about making the display more ergonomic, natural and easer on the eye. When you clock on it you are taken to this screen.
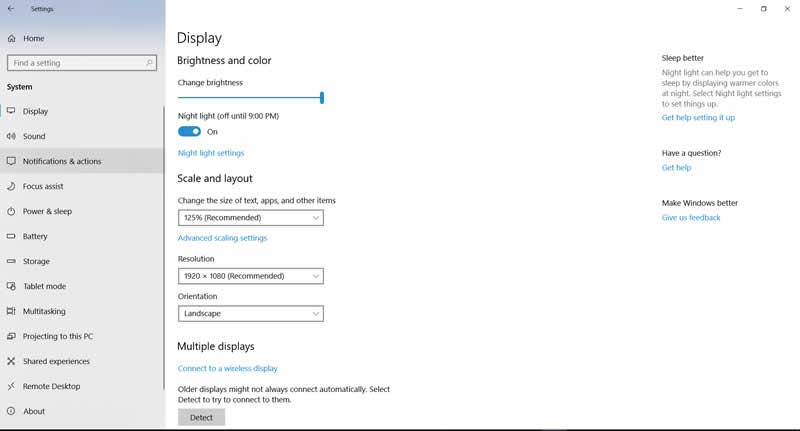
From here the guys when to Night Light settings
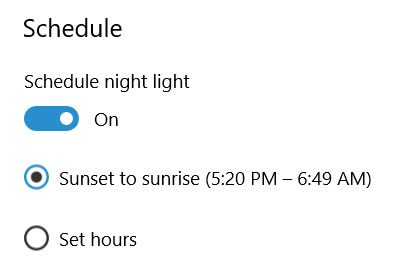
This brings us to this page
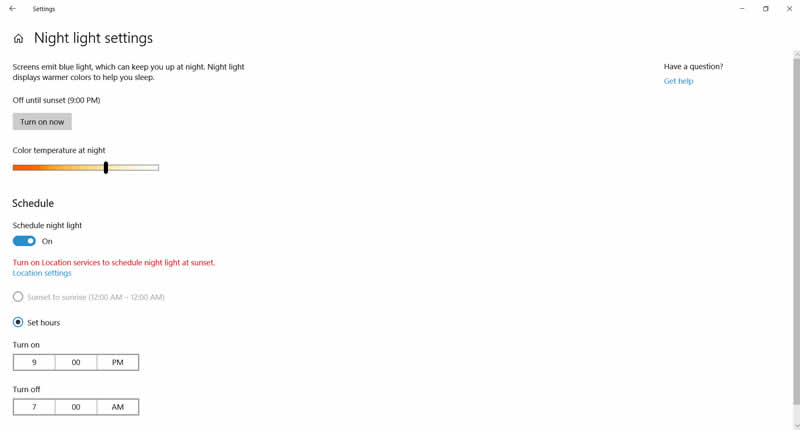
The object is to change the colour temperature of the screen. The guys spoke about how research has shown that exposure to blue light at night was detrimental to good sleep so you can now change the colour of the screen dependant on the time of day. This can be automatic if you have location settings turned on.

We then had a look at some of the colour settings.

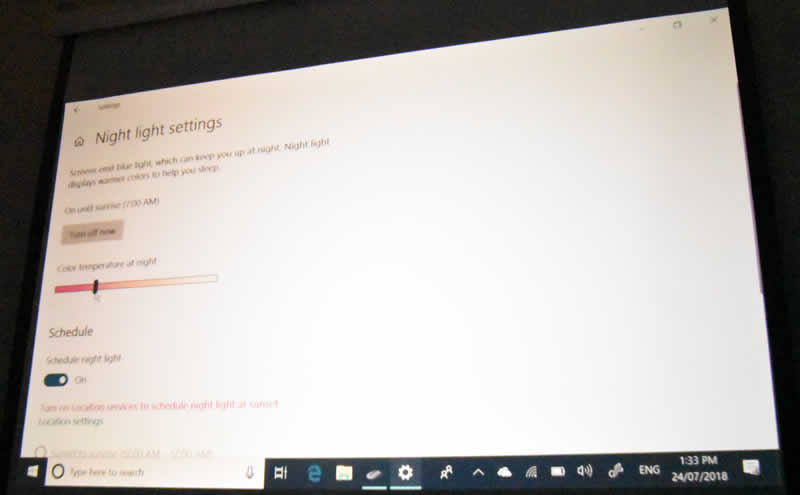
We slide the cursor up and down to see the changes, try it at home.
If you have location enabled then you can set the night light for sunrise to sunset

or simply set the hours you like
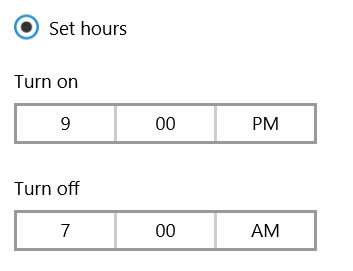
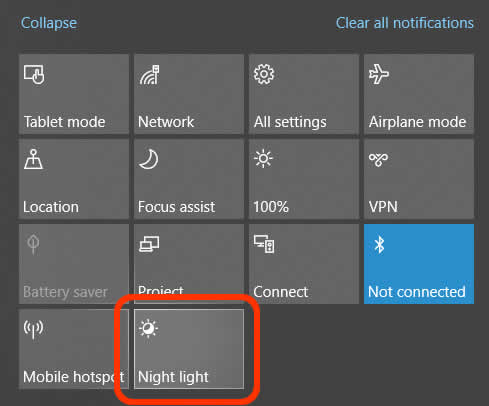
Once on, the colour will change gradually during the day. You can enable it using the notifications.
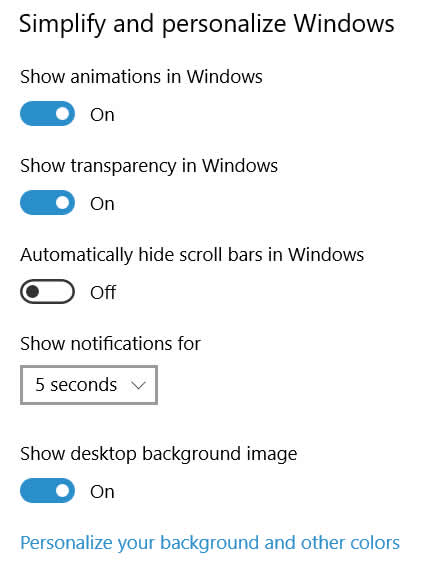
You can turn animations and transparency on or off.
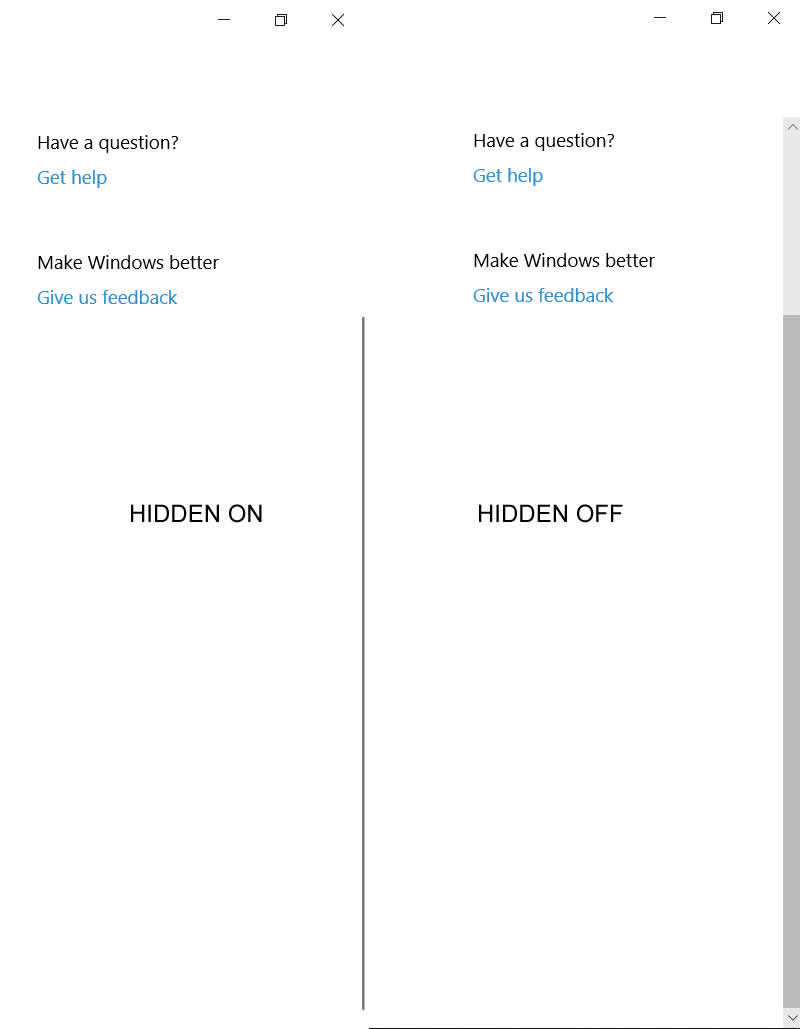
You can hide or unhide the scroll bars
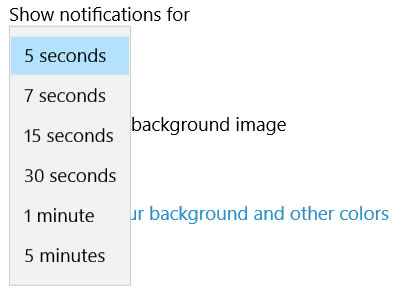
And you can vary the time a notification stays visible
A new setting we looked at was colour filters
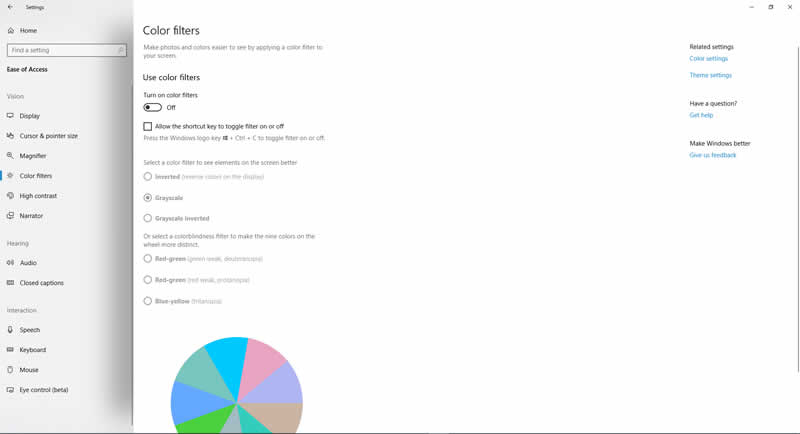
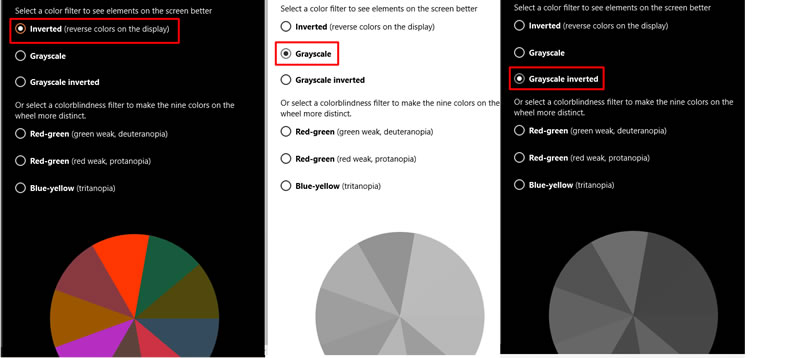
If you turn them on you can invert the colours, use a greyscale or invert the greyscale.
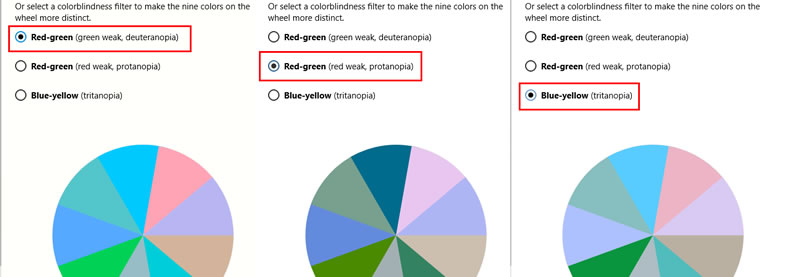
You can adjust for various problems like specific types of colour blindness. The labels show both the colour combination and the type of colour blindness it addresses.
Next up we looked at pointers and cursors.
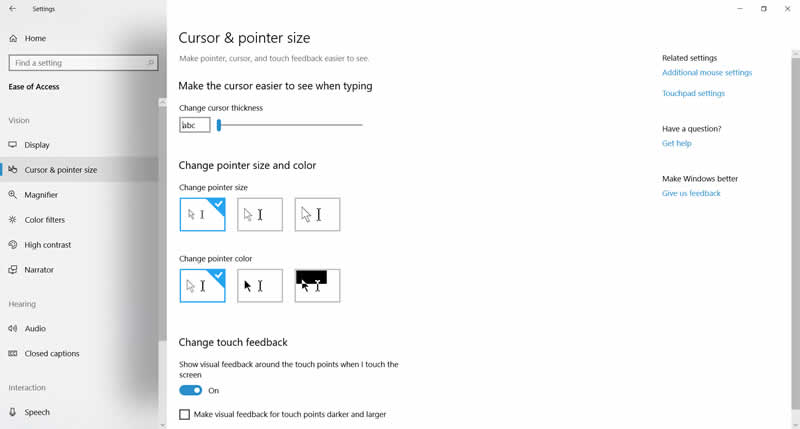
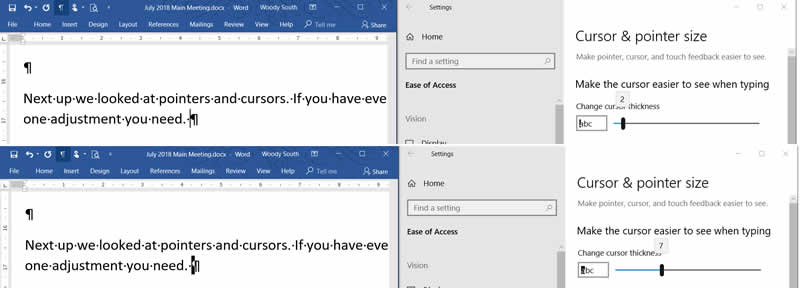
If you have ever lost sight of the cursor on a page this is one adjustment you need. In the slide you can see how much more visible the cursor is when its size is adjusted from 2 to 7.
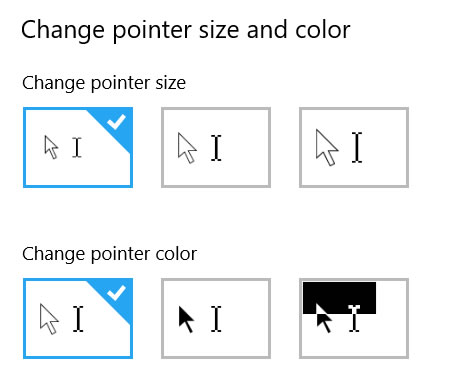
You can also adjust the both the size and colour, from white to black to see-through.
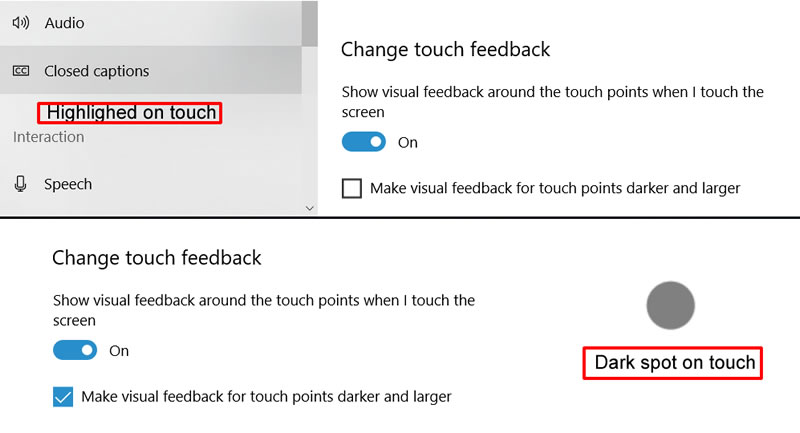
The other feature on the cursor and pointer is touch. Most tablets are touch so if you turn “Change Touch feedback” on then when you touch menus they highlight, also if you tick “make visual feedback --- darker” then a spot appears where you touched the screen.
Another visual aid is magnifier.
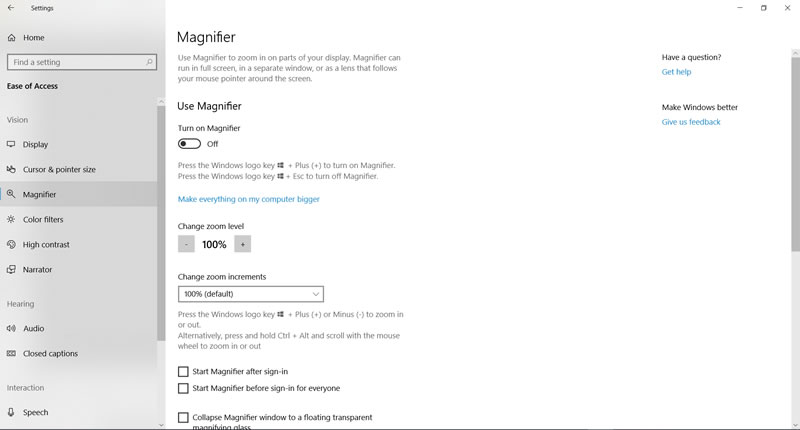
There are three main settings, turn on or off, change the zoom level and change the view.
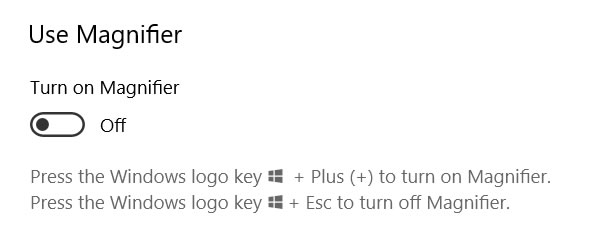
The default setting is 100% in a lens view which floats around the screen with the cursor movement.
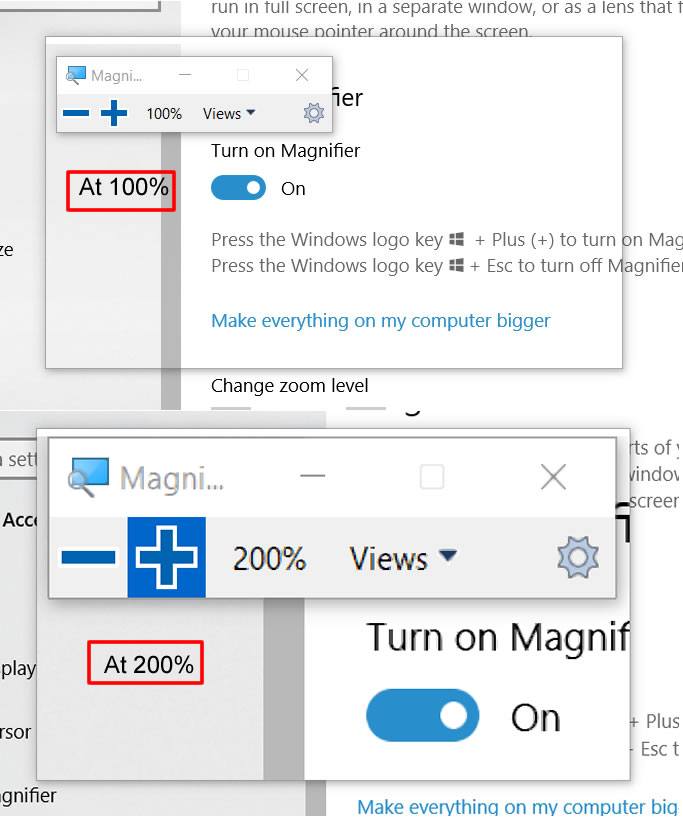
And here we see the magnifier docked and viewed at 50% increments.

There are also key controls like windows + to enlarge, and finally we looked at invert colours
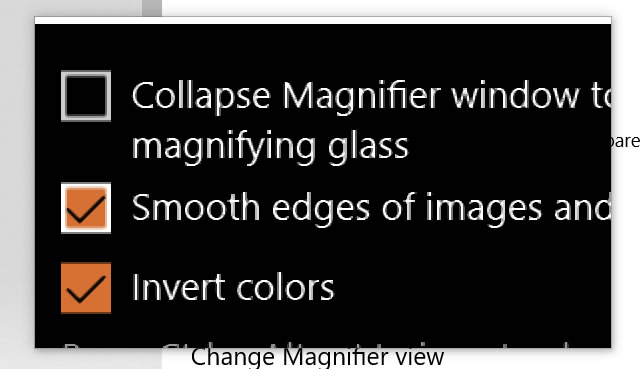
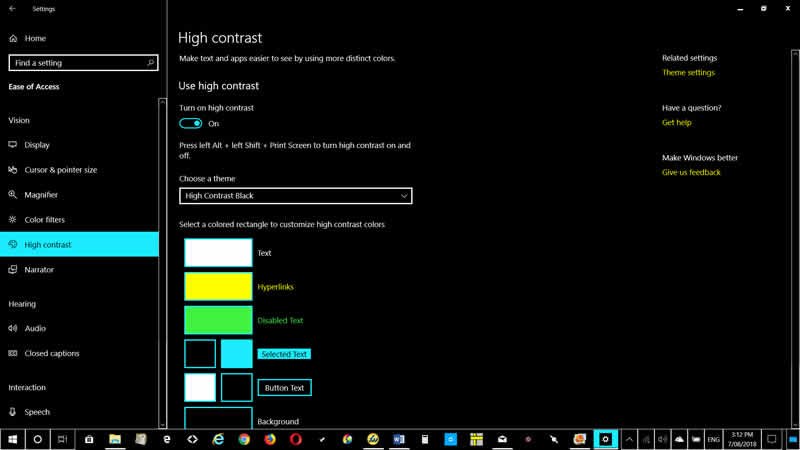
This radically changes the colours in the lens to give even more contrast to the view. To finish we looked at “high contrast” another visual effect for vision impaired people.
The guys the moved on to Narrator.
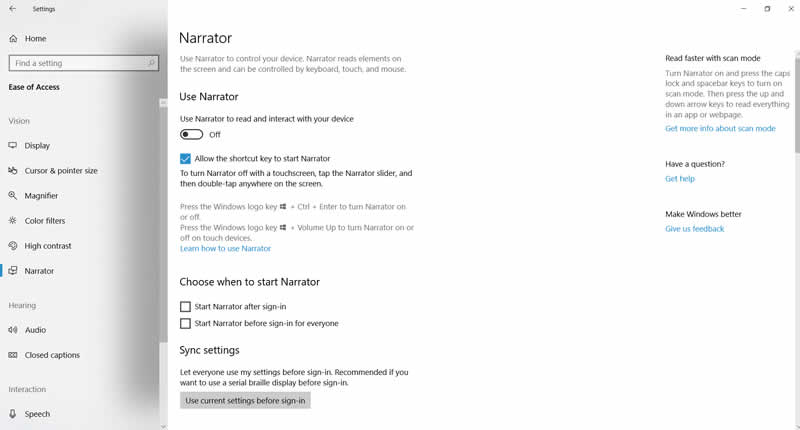
Narrator is used by those with real visual problems. It allows Windows to read the screen to the user.
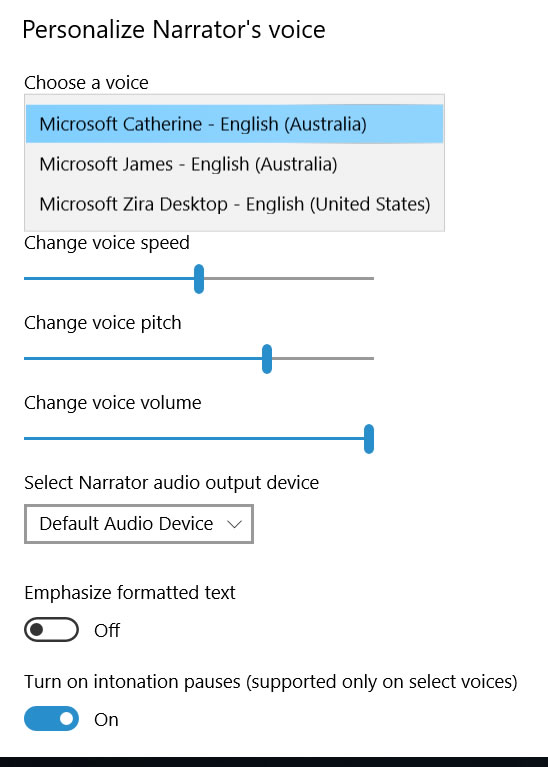
There is a choice of voices, speed settings and default volume controls. You can even designate the default audio device so you can use a Bluetooth-connected hearing aid.
We then addressed Windows Updates.
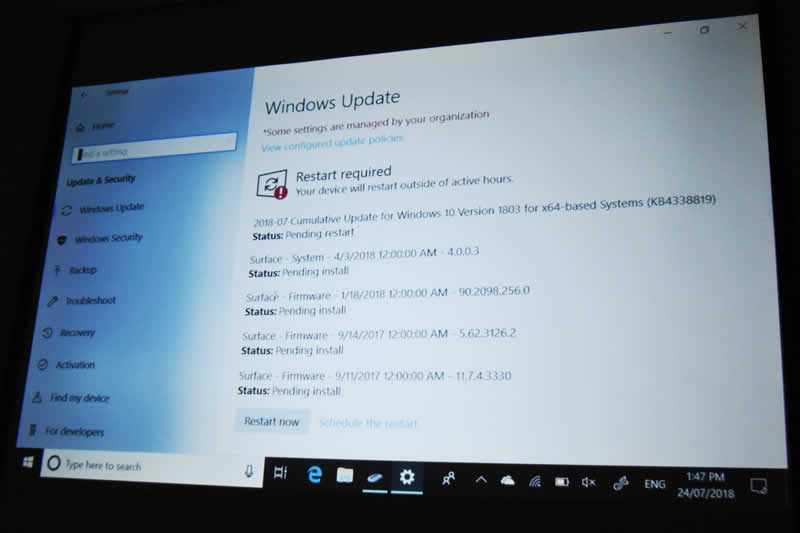
Microsoft wants to protect its users, so updates “are mandatory, it’s how (Microsoft) guarantees security. You don’t need to subscribe to (other security programs) because Microsoft believes you shouldn’t have to pay to be safe”. Otherwise you could miss a patch and find yourself a victim of Ransome ware or lose control of your computer to a botnet. However, Microsoft also recognises that you need to control how and when you receive and apply these updates. They realise you wouldn’t want to have updates downloading while using the limited data on your phone. Nor would you like to have to stop work simply to install and update so, we had a look at just how updates work.
You can control when the updates install by telling the PC not to restart when you are working. It’s called “Active hours”.
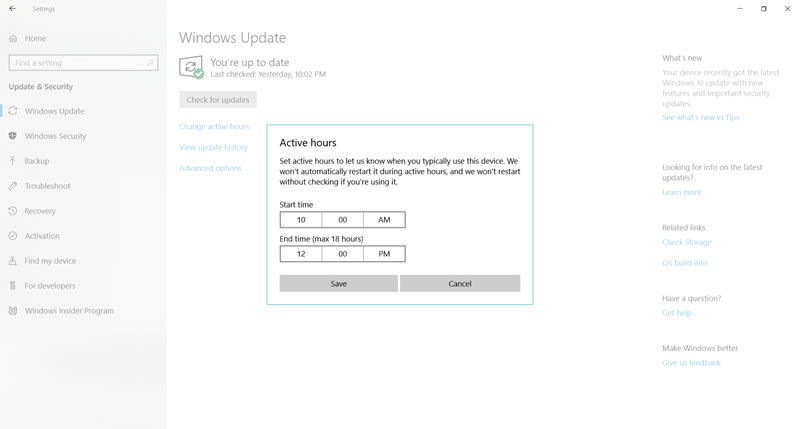
You find it under “Change active hours” in Windows updates. Generally, most updates probably don’t need a restart and when they do you can schedule the restart to suit your needs using active hours. That said, Microsoft understands that some patches need quick attention so can only limit the active hours to a maximin of 18 hours.
The last thing we looked at was the new feature of “Time line”
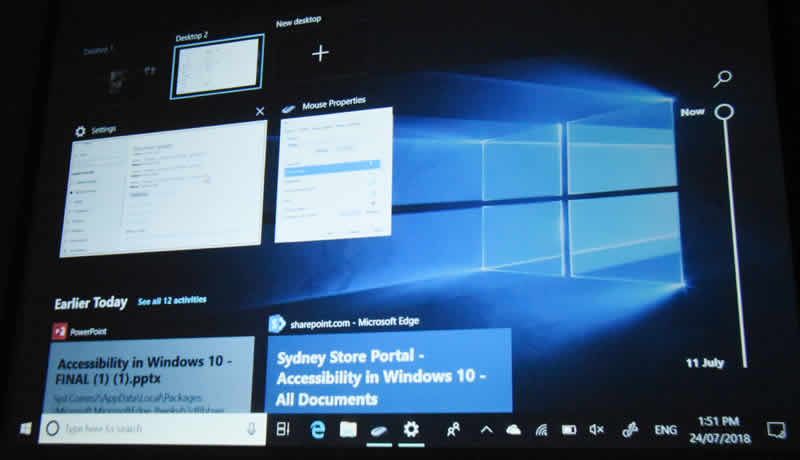
It’s a list of the pages you have open and below that is a list of the history of what you have been working on previously.
So, you can use it to navigate between open windows, for example I have my photo folder, my photo editor and Word open. Using the time line, I can move between each window as I add a photo to the word document.
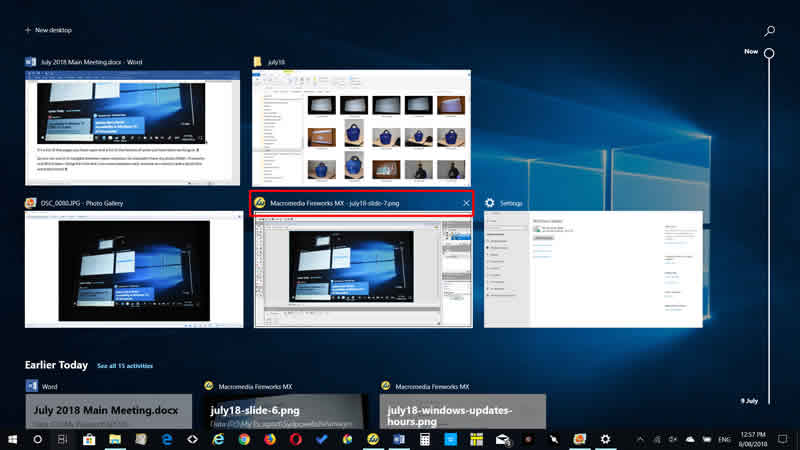
As you hover over an open window an X appears, see the red highlight, click on the windows and it opens up, or click on the X and it closes.
Its also a history lesson. There’s a slider on the right side and if you scroll it you can see all the screens you looked at from now to, in this case the 11th July.
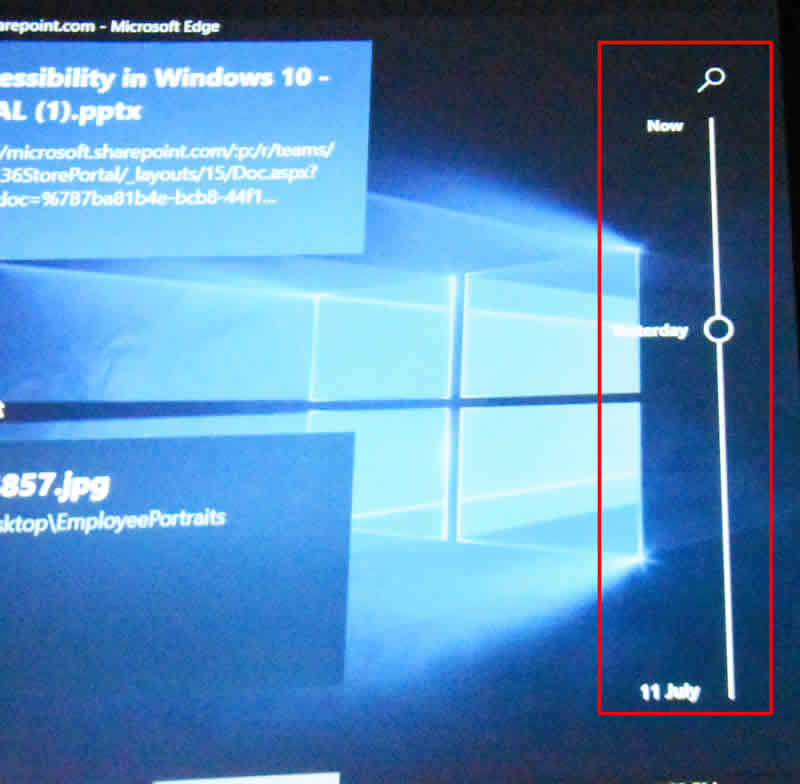
Using the slider, you can see all the windows you had open from now to the date on the screen. You can also sync the history across other machines on your Microsoft account. If you right click on a window you can edit it.
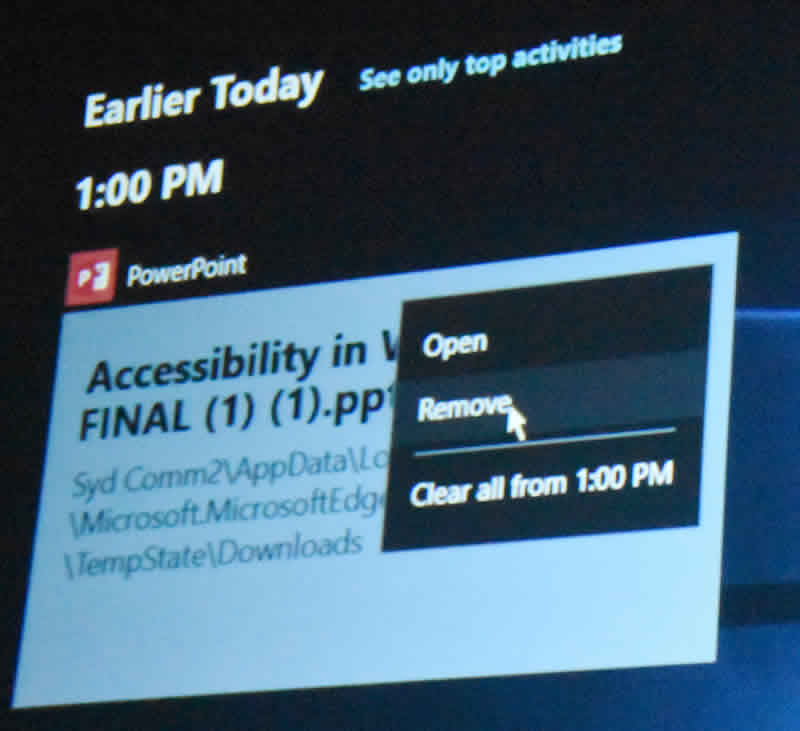
You find the time line next to the search or Cortana button on the task bar.

THE RAFFLE
Today Microsoft offered a great bag with all sorts of goods inside.
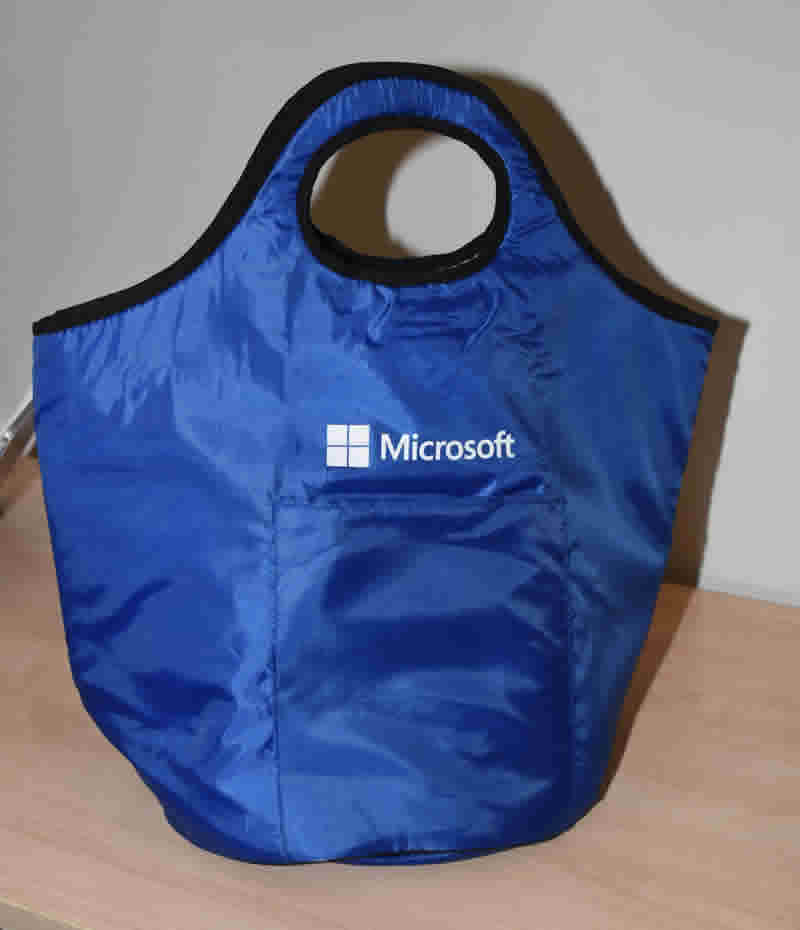
Our winners

