What we did
February 2022 : Using a mask to hide images
This month we looked at masks. I found an article on Fancy CSS Borders Using Masks
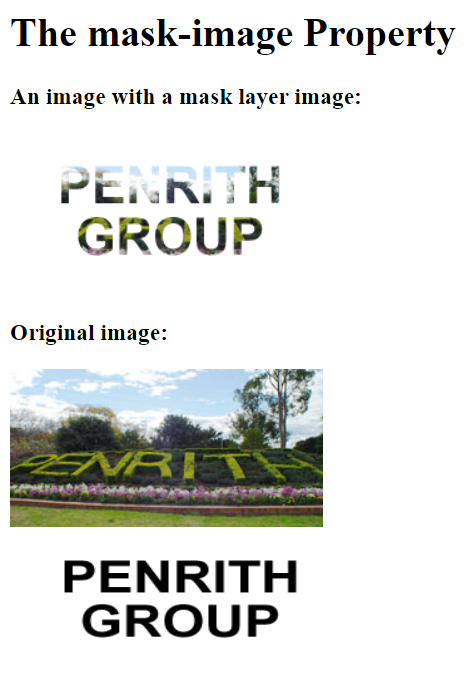
and while very interesting I thought we should look at the basics first. Masks are a way to hide a portion of an image or layering it behind another image. One example would be to add text over a picture so that you can only see the image through the text. We started with this video an Intro to CSS masking CSS masking on YouTube.
Then to understand the basics we looked at the W3 Schools site on Masks.
Taking some of our own images we played with the concept.
The basic CSS code is :
			.mask1 {
			-webkit-mask-image: url(Penrith-word.png);
			mask-image: url(Penrith-word.png);
			-webkit-mask-repeat: no-repeat;
			mask-repeat: no-repeat;
			}
That simply places one image over the other. There is no repeating, to repeat you simply remove the norepeat code.
You place the image you want to overlay in the html and add the css class.
< div class="mask1"><img src="your image" ="">
</div>>
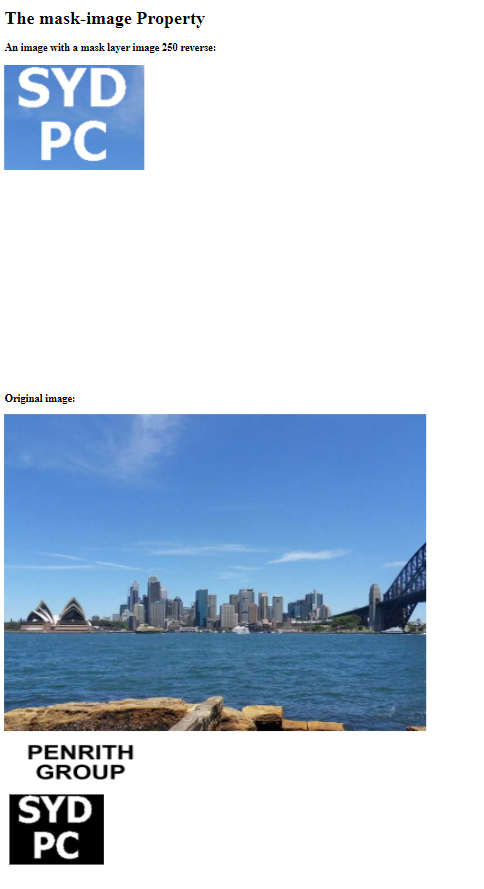
We then tried to see if we could create a reverse mask where the text was solid and the image showed up around it.
This time we used a larger image and reversed the text overlay.
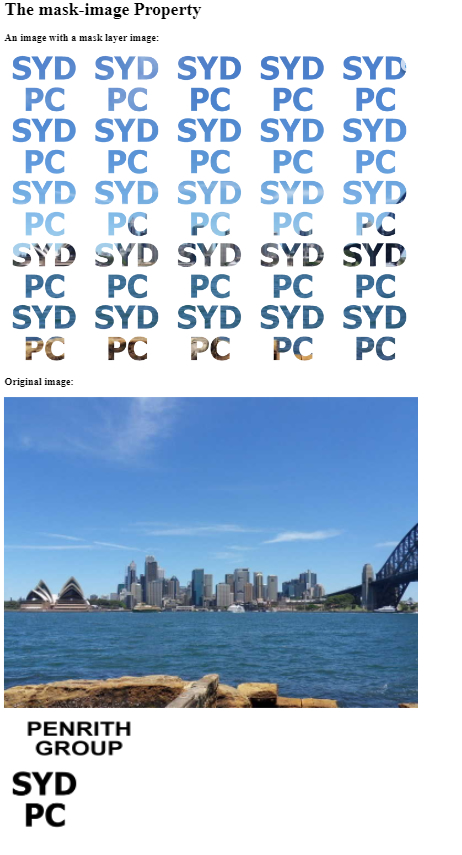
We then removed the norepeat css
.mask1
 {
			-webkit-mask-image: url(Penrith-word.png);

			mask-image: url(Penrith-word.png);

			/*-webkit-mask-repeat: no-repeat;
			mask-repeat: no-repeat;*/
			}
and here’s the effect.
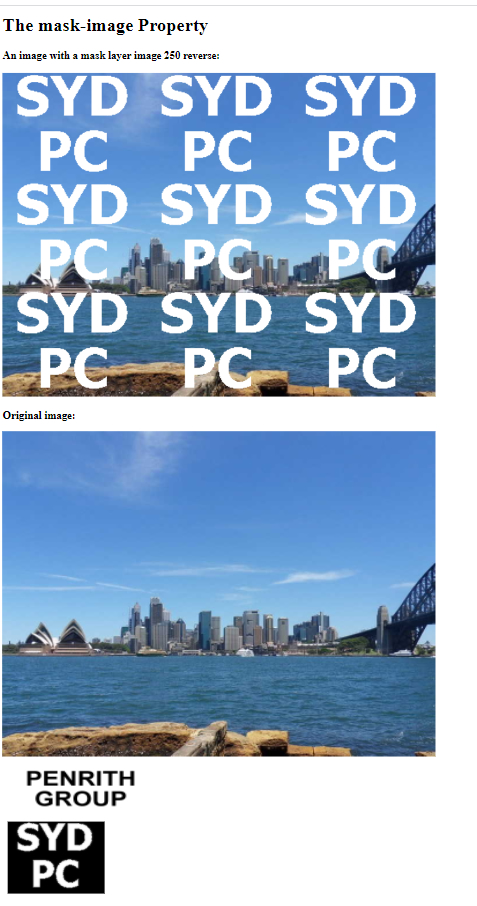
To amuse ourselves we then created an ellipse and played with that.
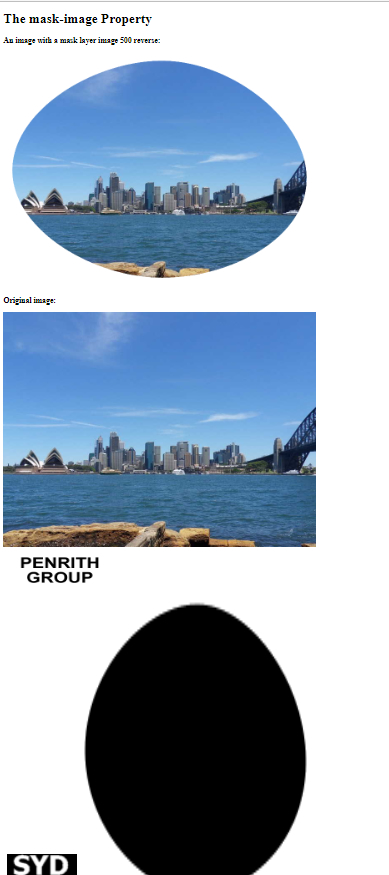
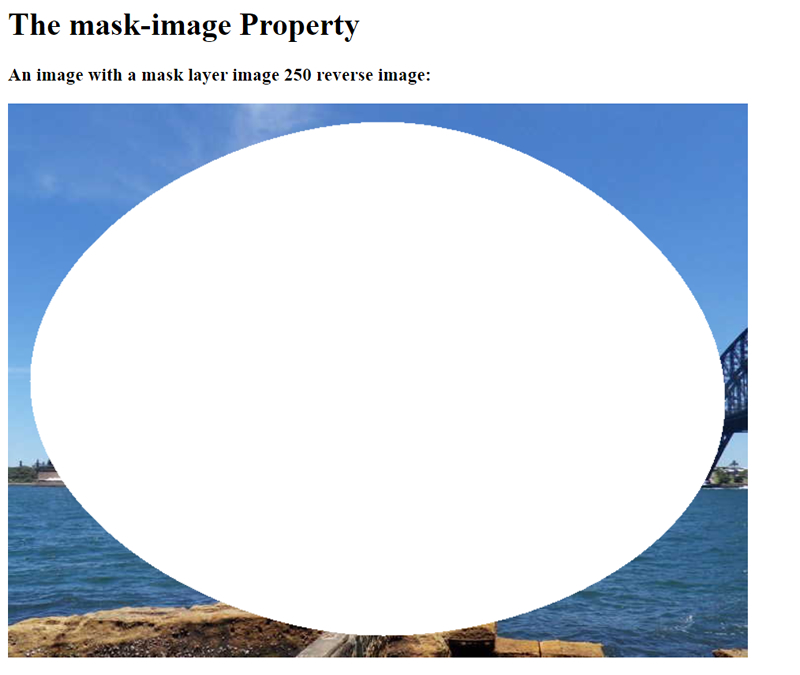
Note : To make the mask work the overlay image needs an alpha zone that’s a transparent area that allows the underlaying image show through.
Steve South
Web Design leader